Landing Screen
When you first load the Imagicorns App, it will bring you to an opening screen and then move you to your options.
Main menu
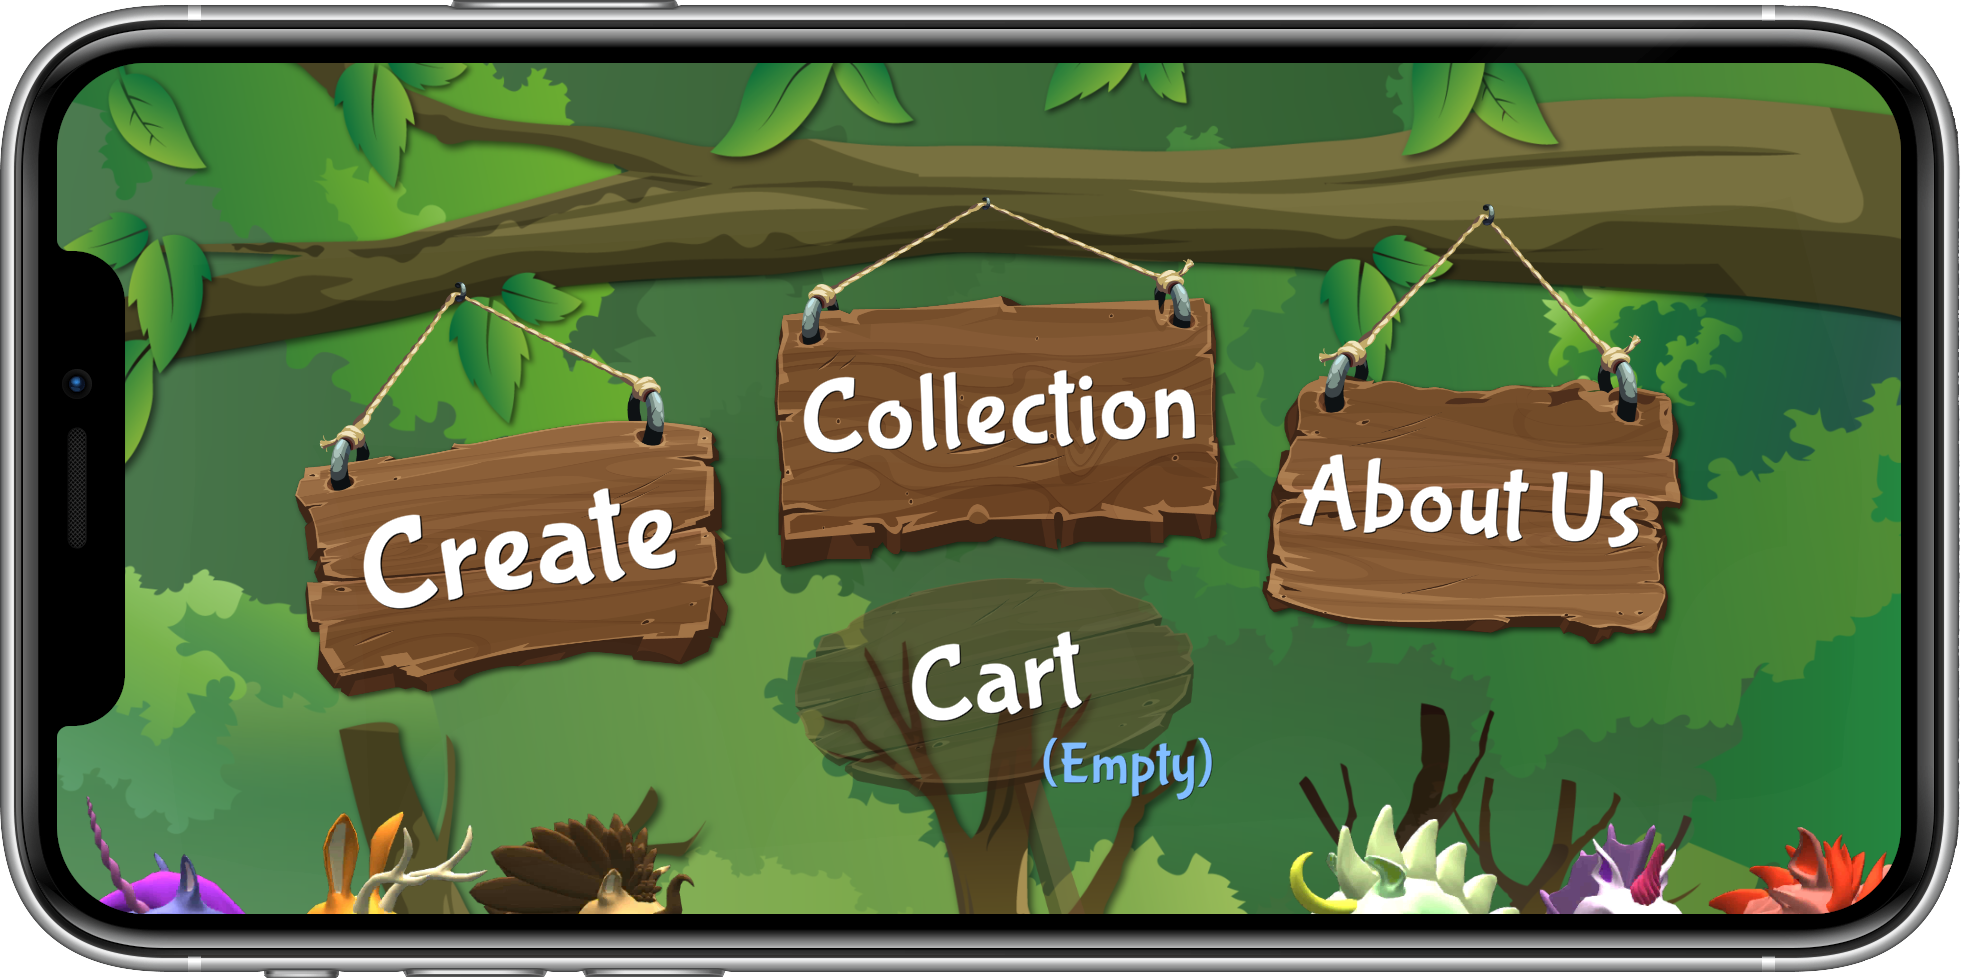
To start a new Imagicorn, click on the create panel. After you have created a series of Imagicorns, you can also view them by clicking Stable.
Create

Now you can start getting creative! You can change how your Imagicorn looks, change it's name and more. Click change in the upper right to go to the Imagicorn Studio
Collection
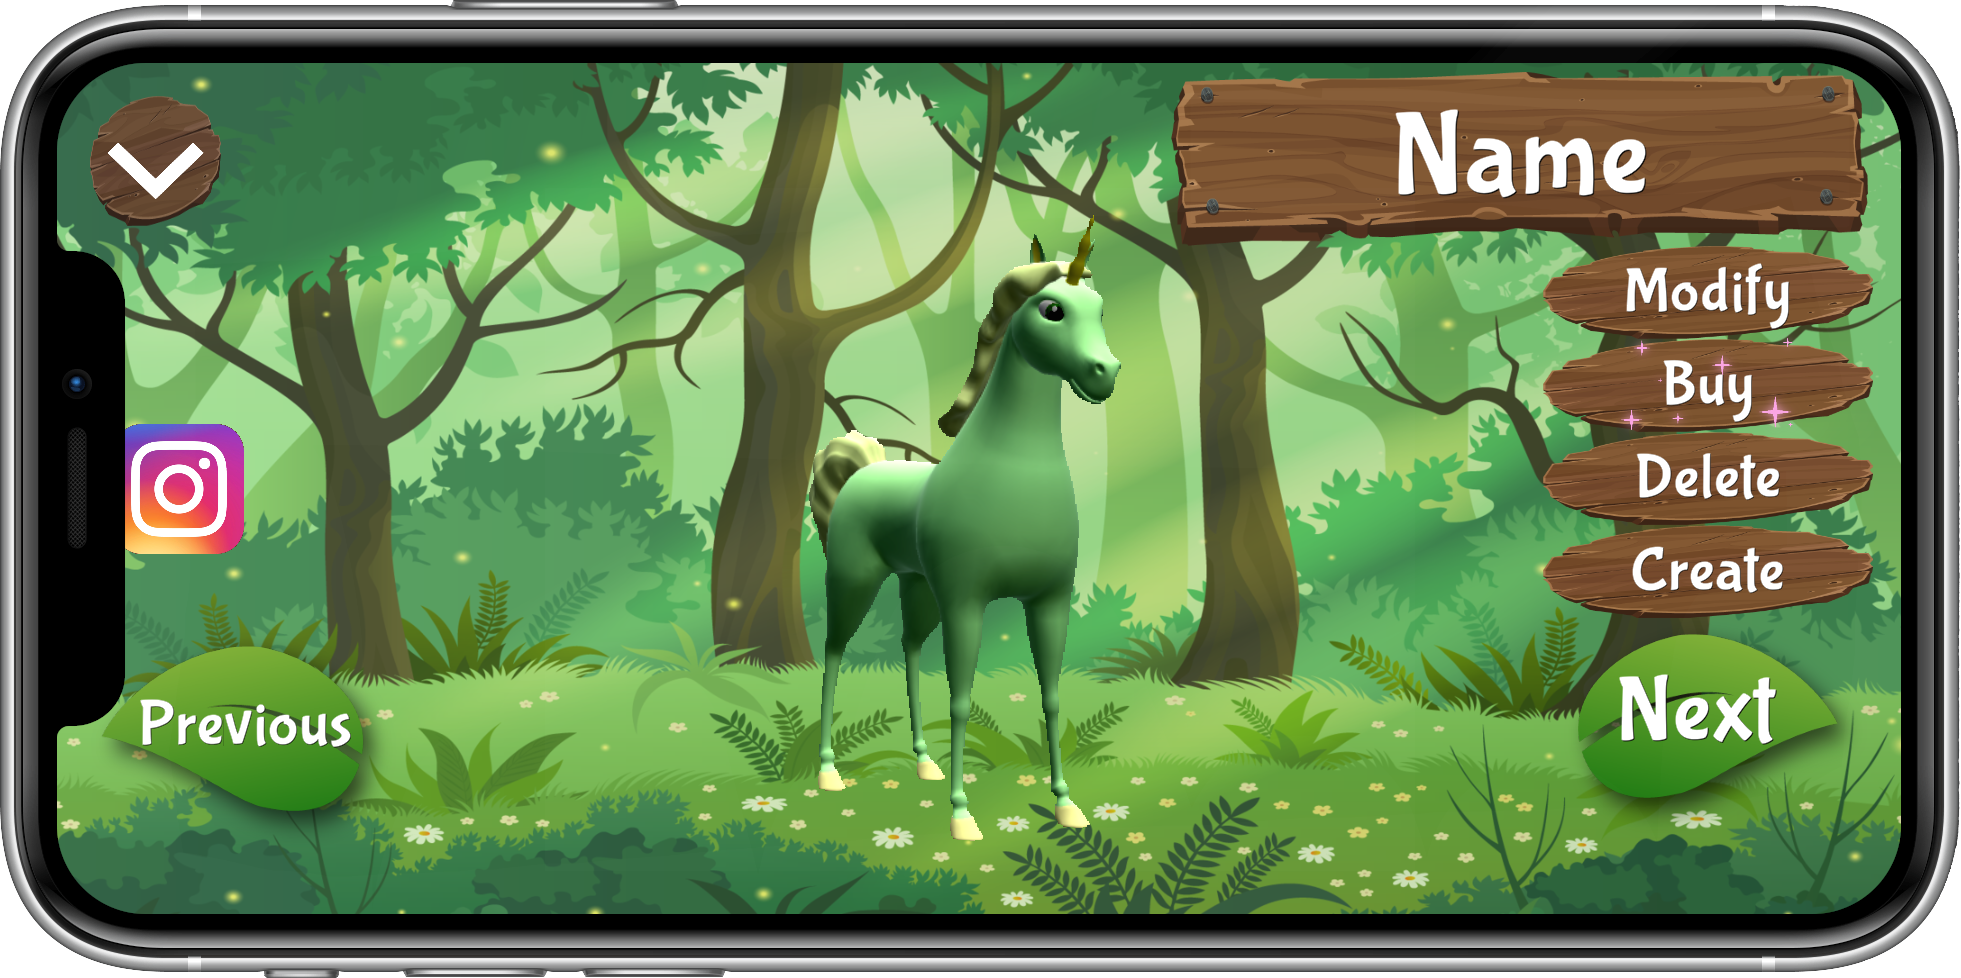
Your egg will magically hatch into an Imagicorn that you will see in your stable. Click on “Modify” in the top right corner to modify your Imagicorn.
Workshop Style
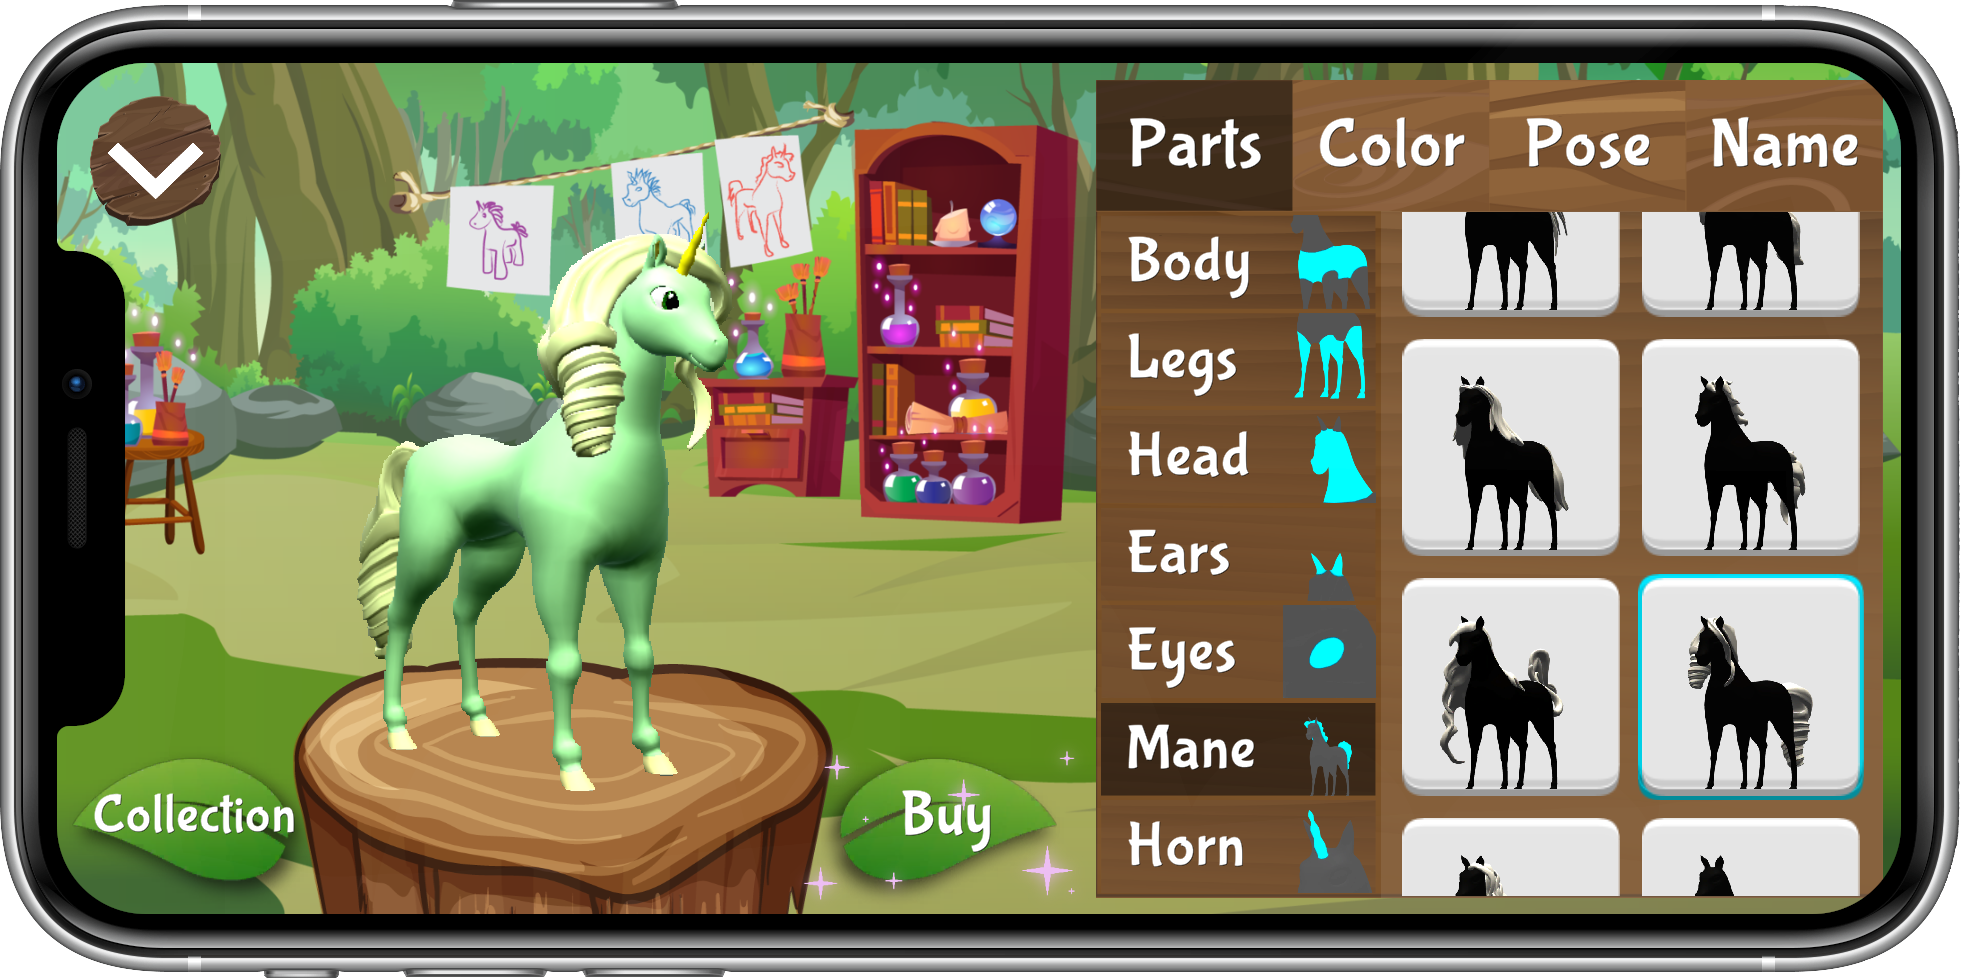
You can follow the same steps to change colors on your unicorn. Tap the part you want to modify and then tap on the color you want it to be.
Workshop Color
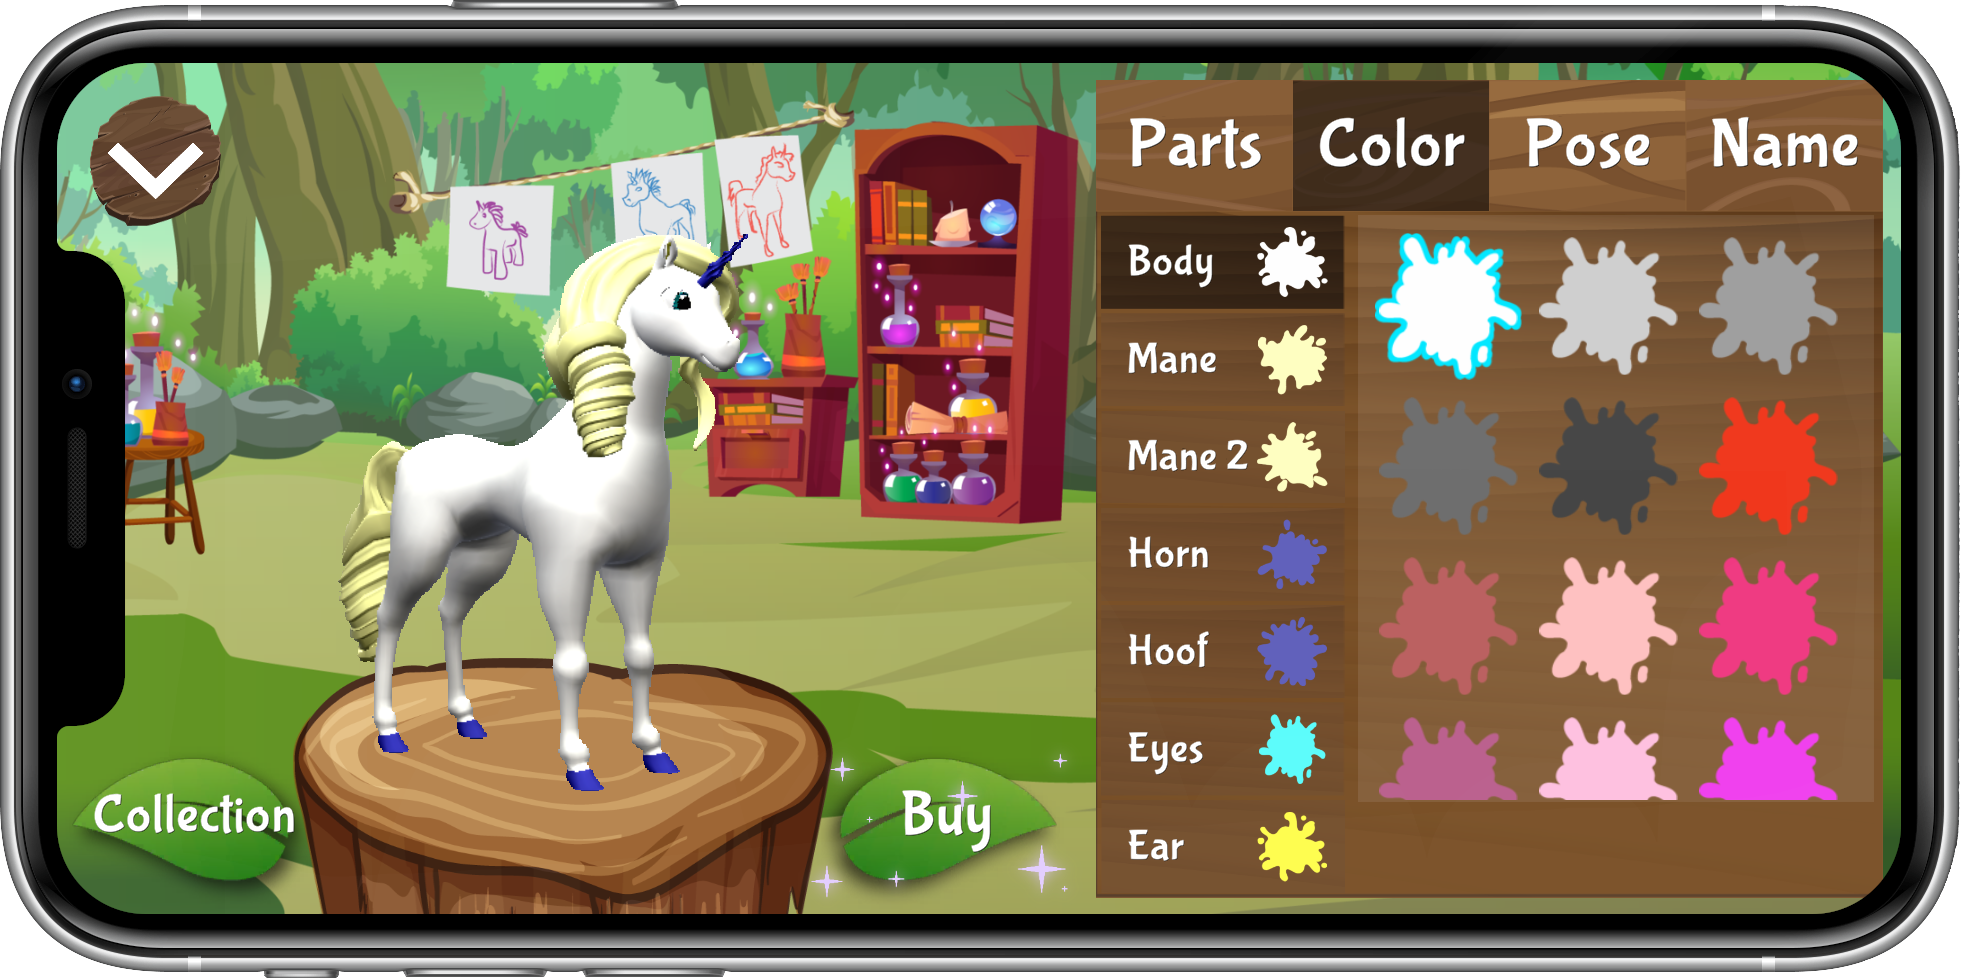
Use the buttons and scrolling on the right to modify your Imagicorn. Start with “Parts.” You can click on “Body,” “Legs,” or other parts and then scroll through option to the right. Tap on the option you want to try out, and your unicorn image will update to reflect the changed part. You can turn your Imagicorn by putting your finger on the Imagicorn and dragging the image to the left or right.
Workshop Pose
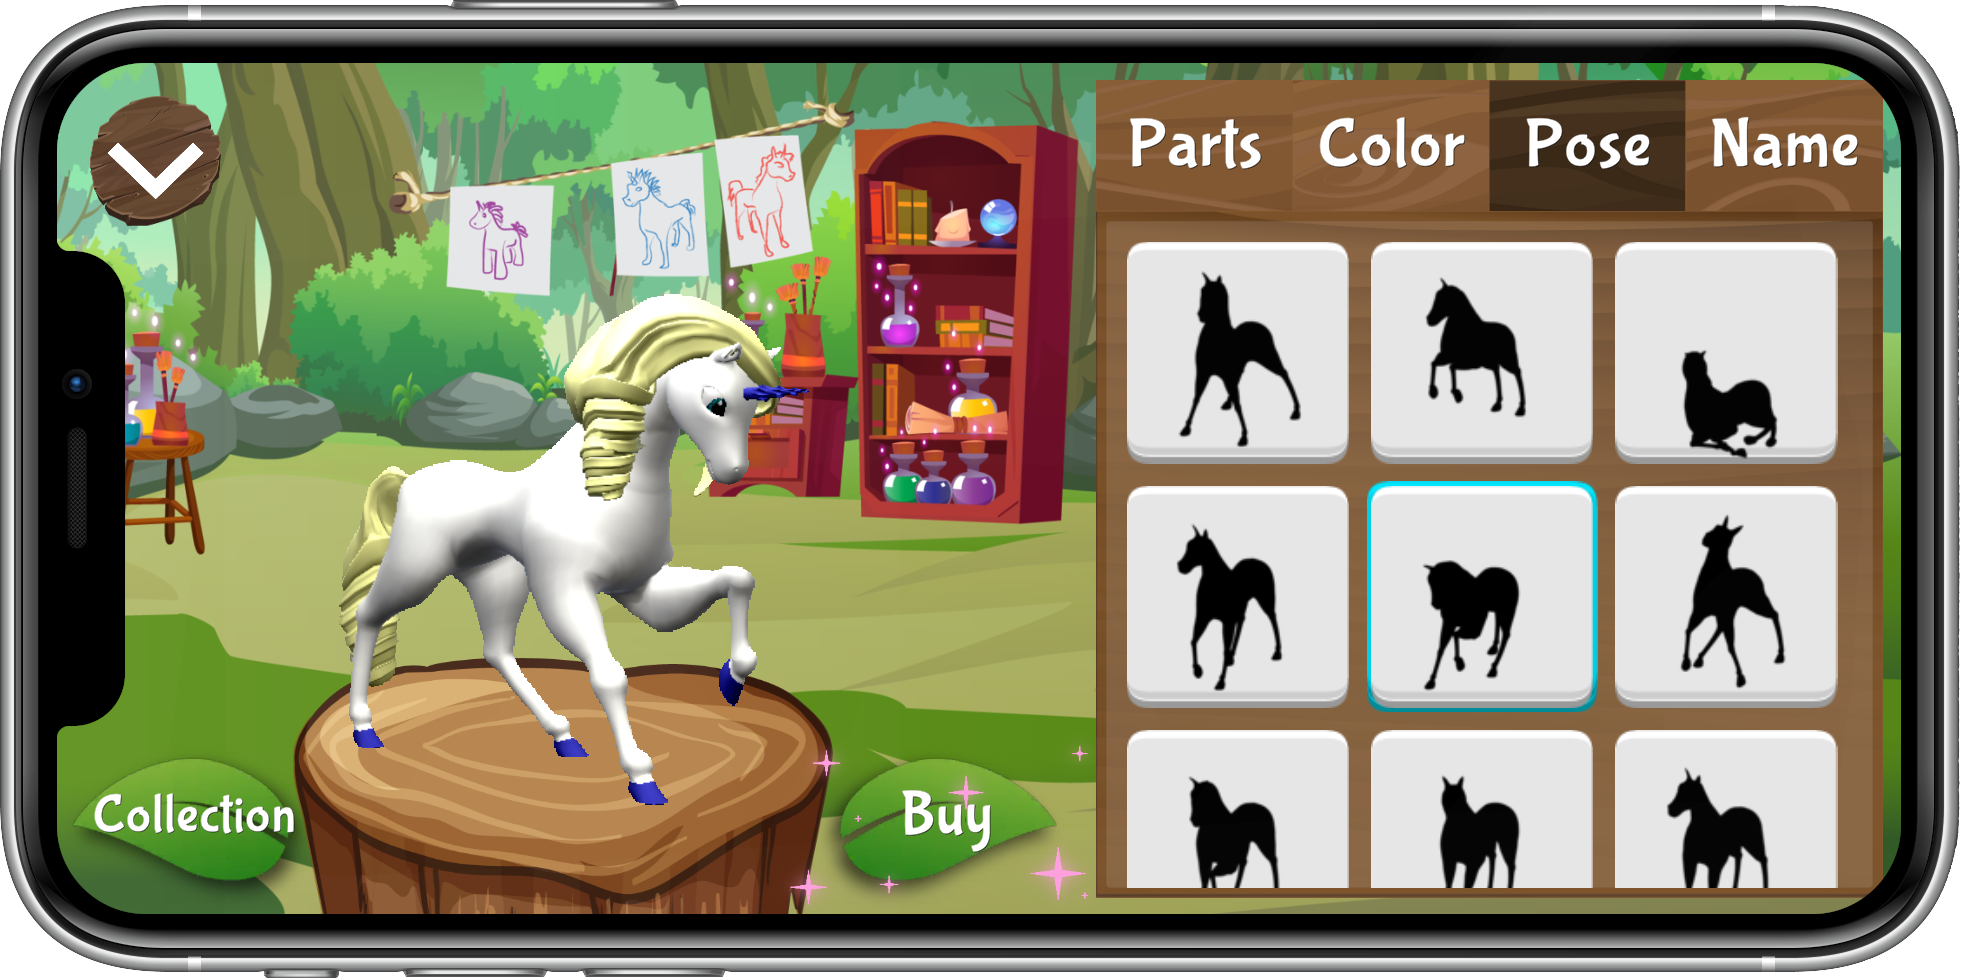
Next, tap on “Pose.” You will see options for posing your unicorn. Tap on one you like, and try it on for size.
Workshop Name
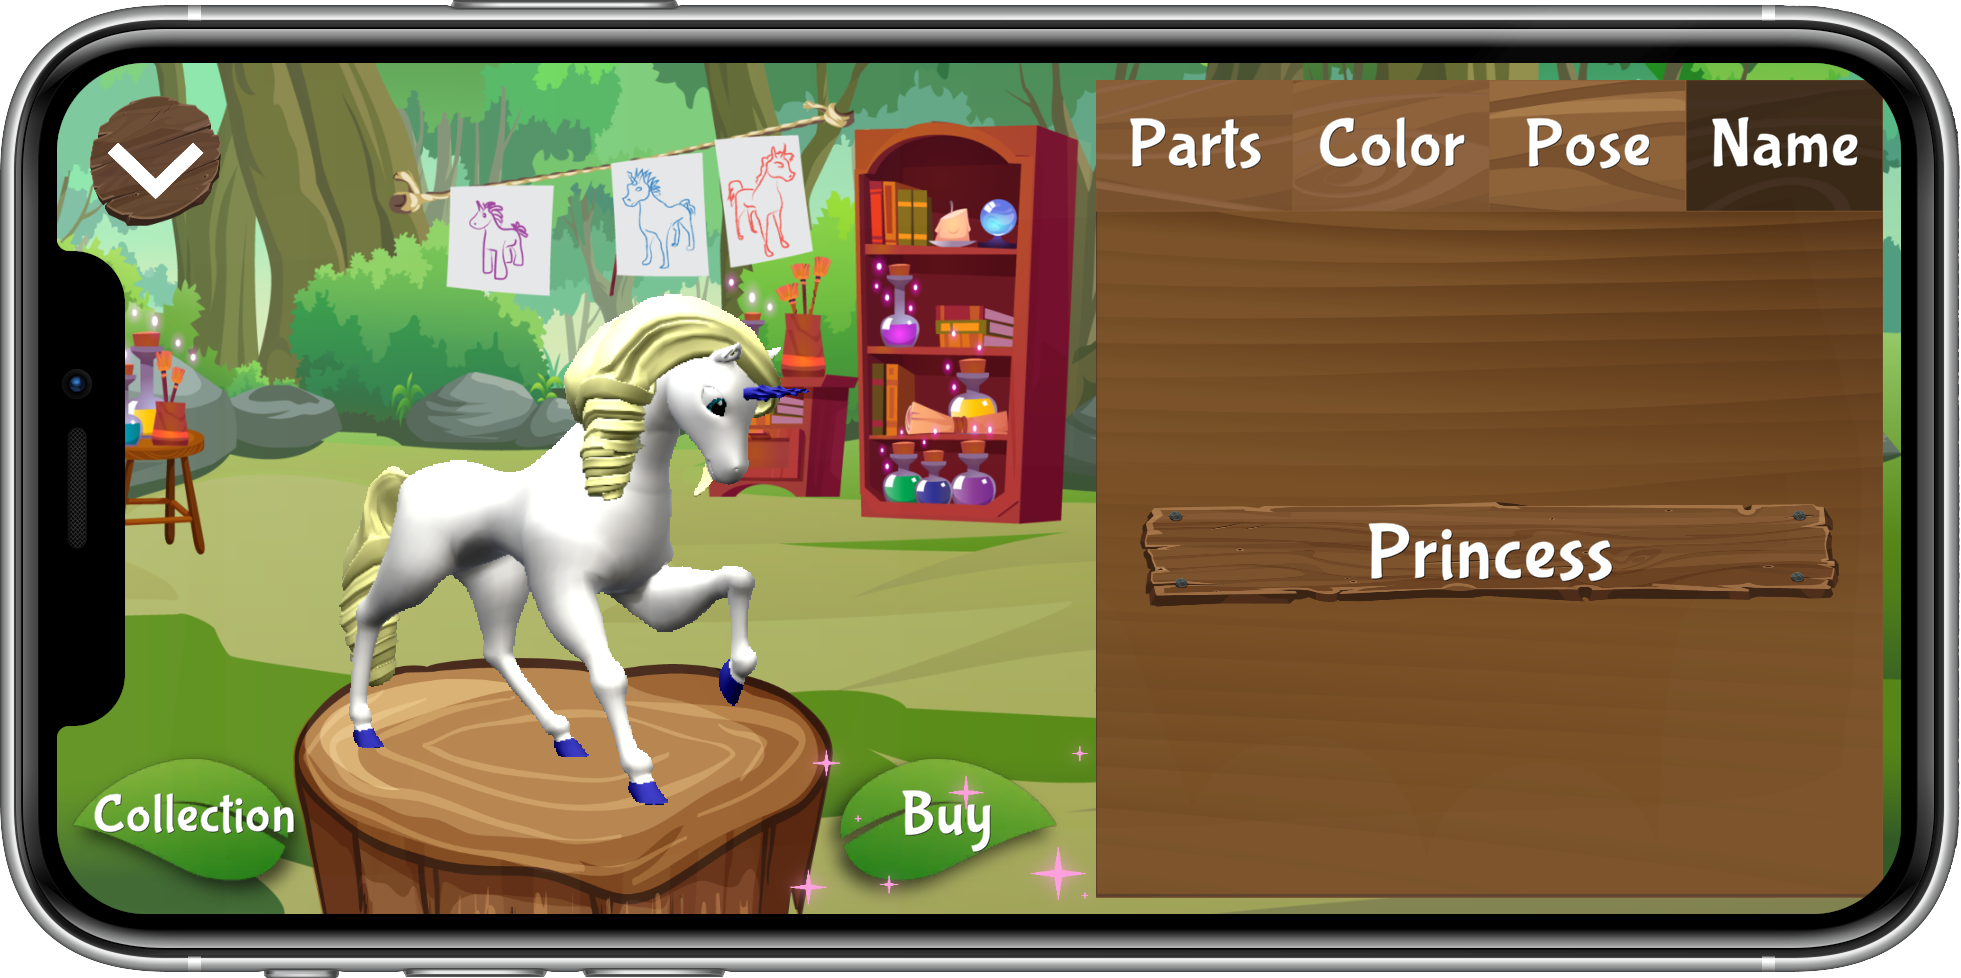
Finally, tap on “Name” to enter a name for your Imagicorn. Tap on “New Unicorn” and you can use the keyboard to enter the name. When you are done, you can click on “Collection” to see the new Imagicorn in your collection view, or you can click buy to purchase an Imagicorn product based on your custom Imagicorn. The following pages assume you tapped "Buy".
Buy: Unicorn
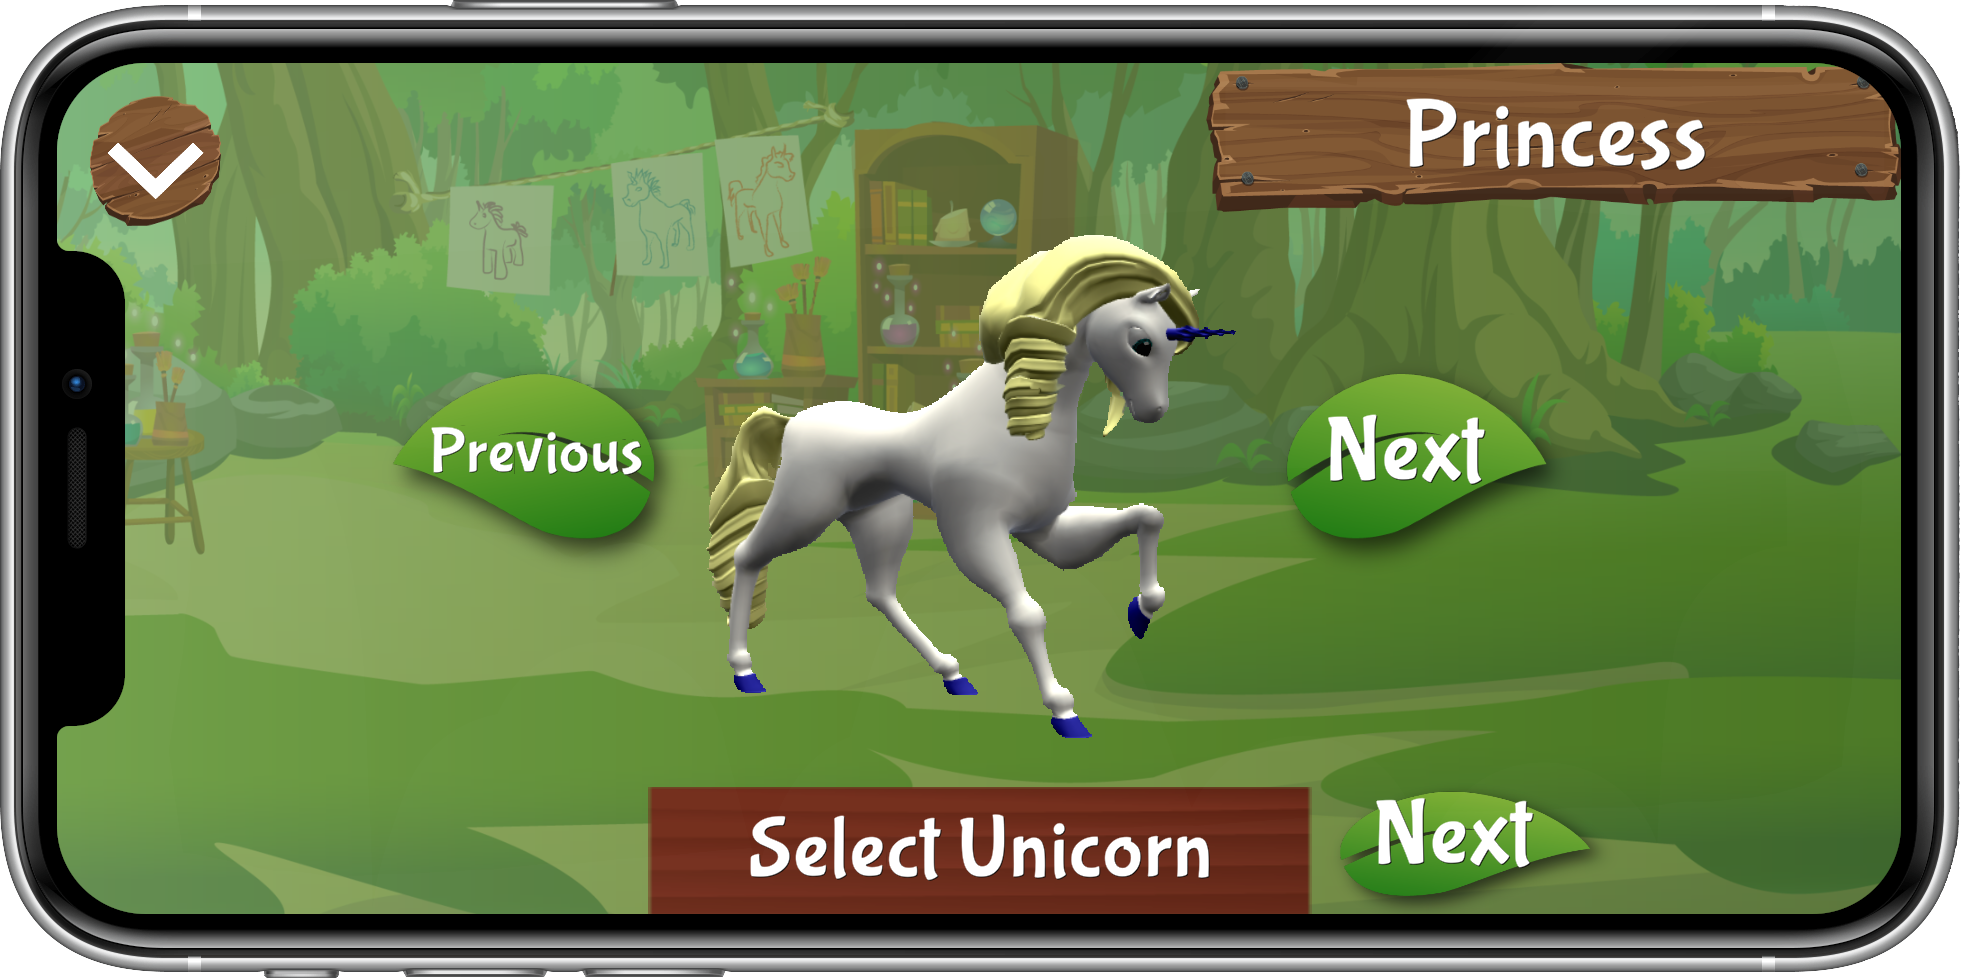
Select the unicorn you want on a custom product with the left and right leaf arrows, then tap "Next".
Buy: Product Type
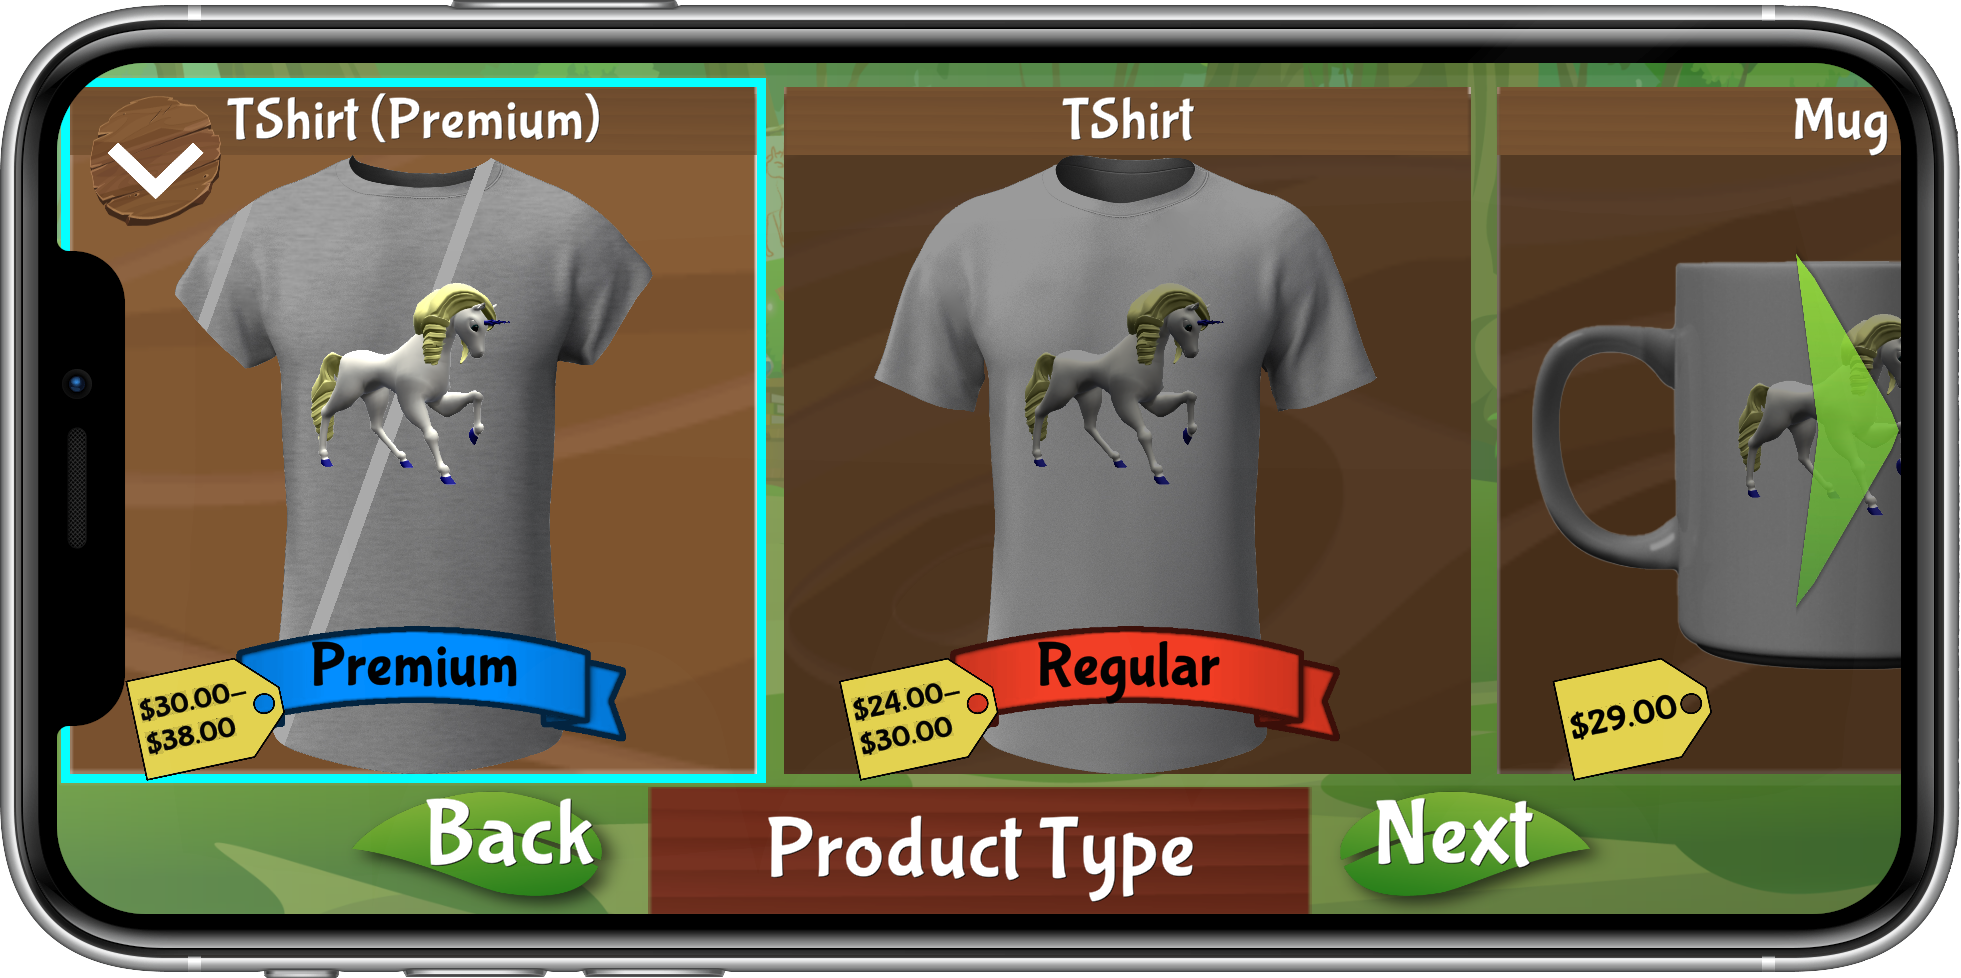
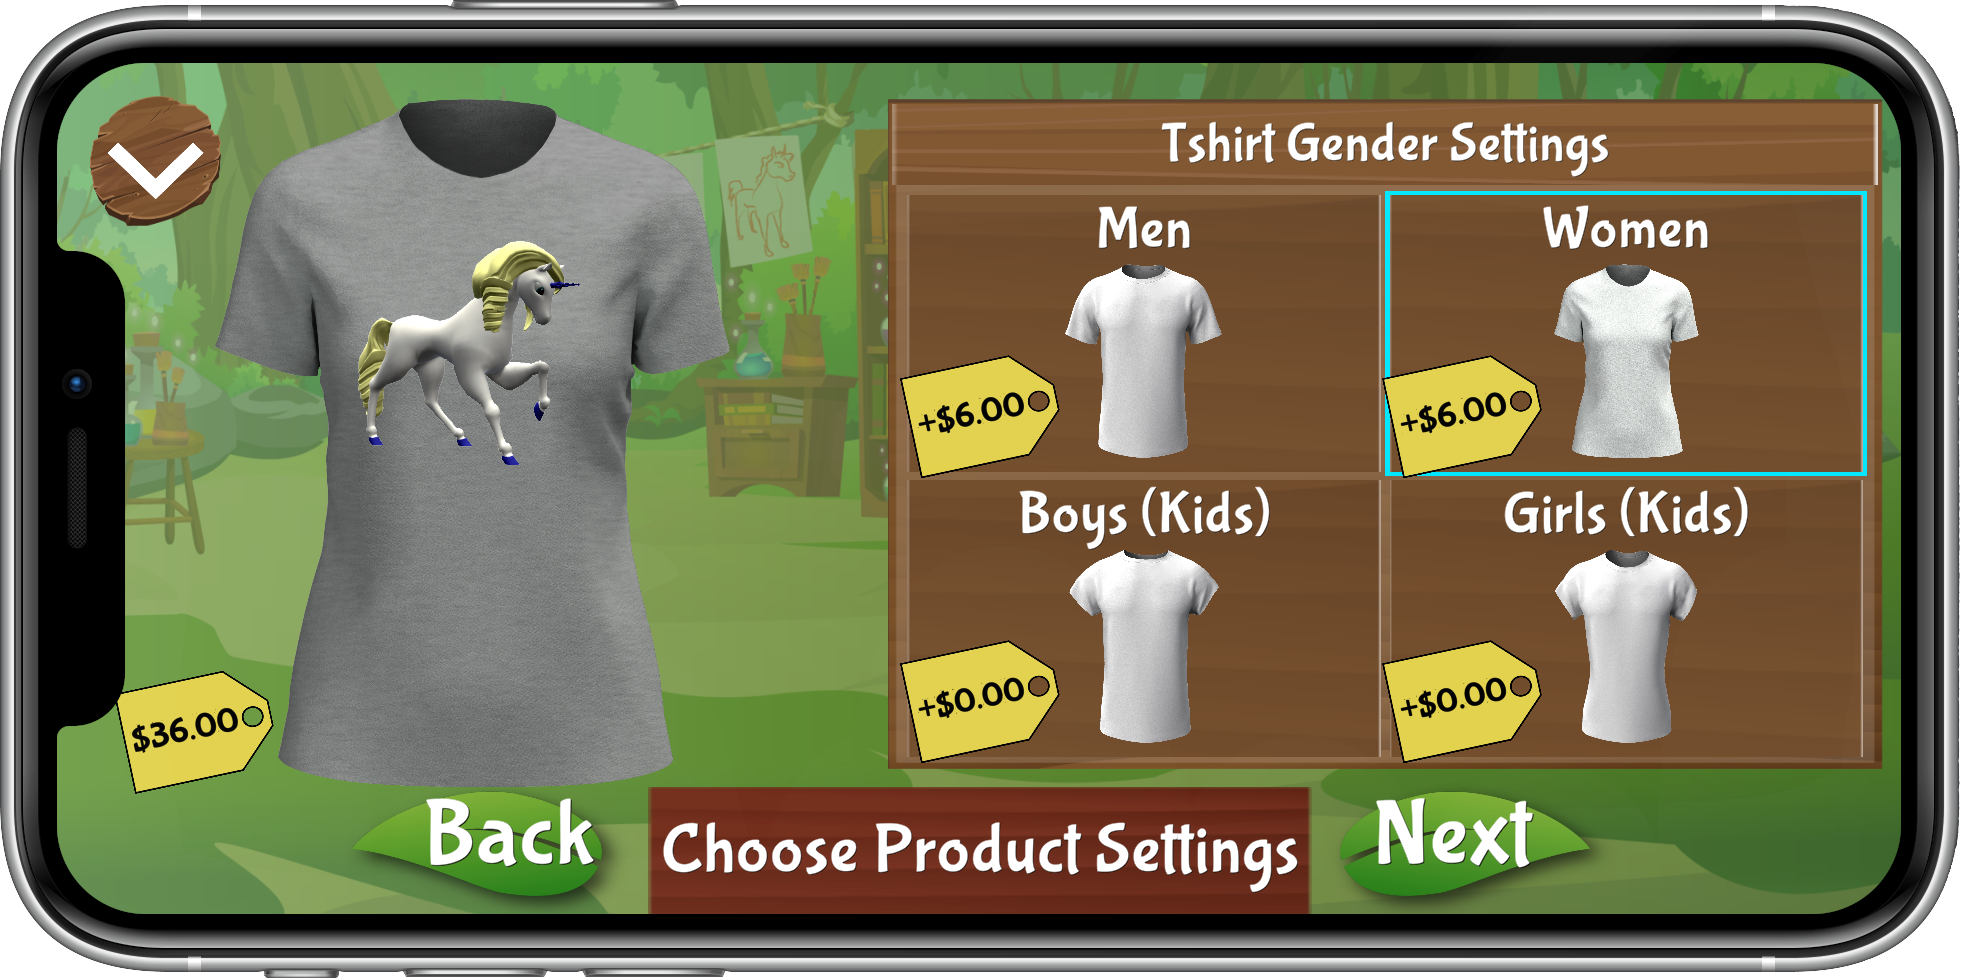
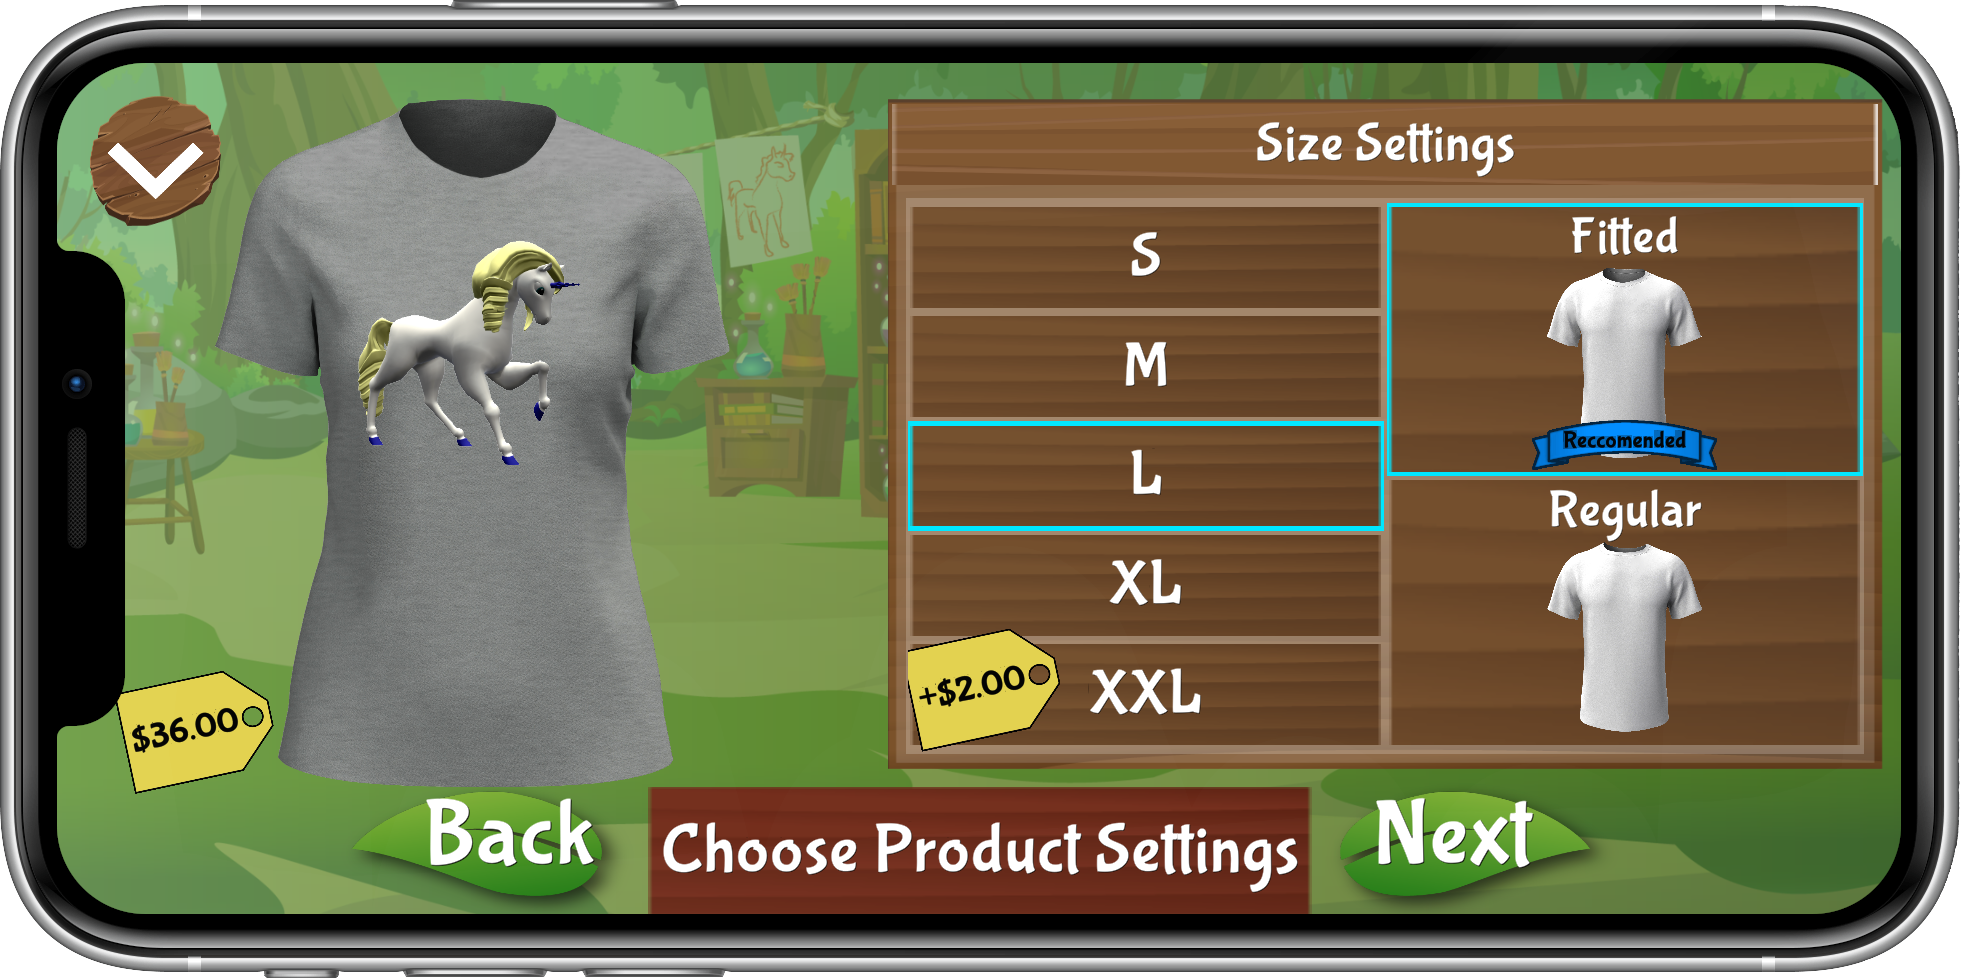
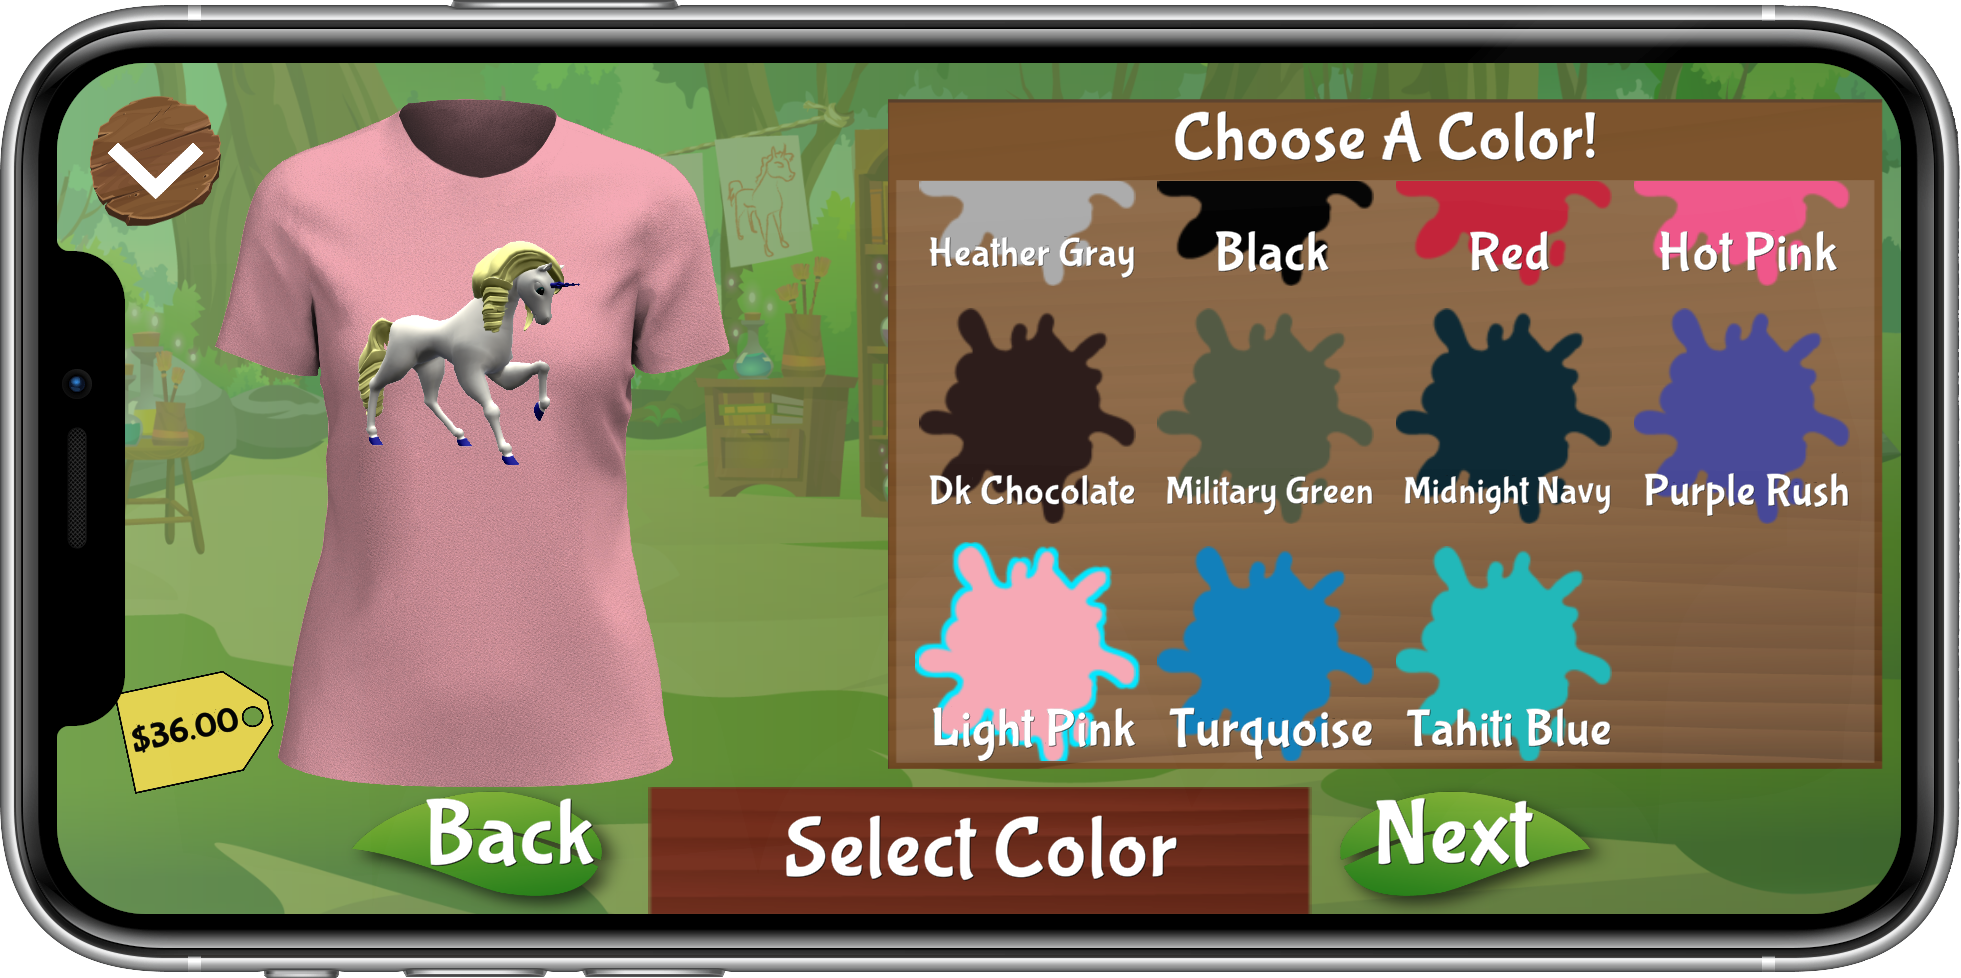
Scroll and select the type of product you would like to buy - this example assumes a premium t-shirt was selected. When you have chosen, tap "Next".
Buy: Product Settings
